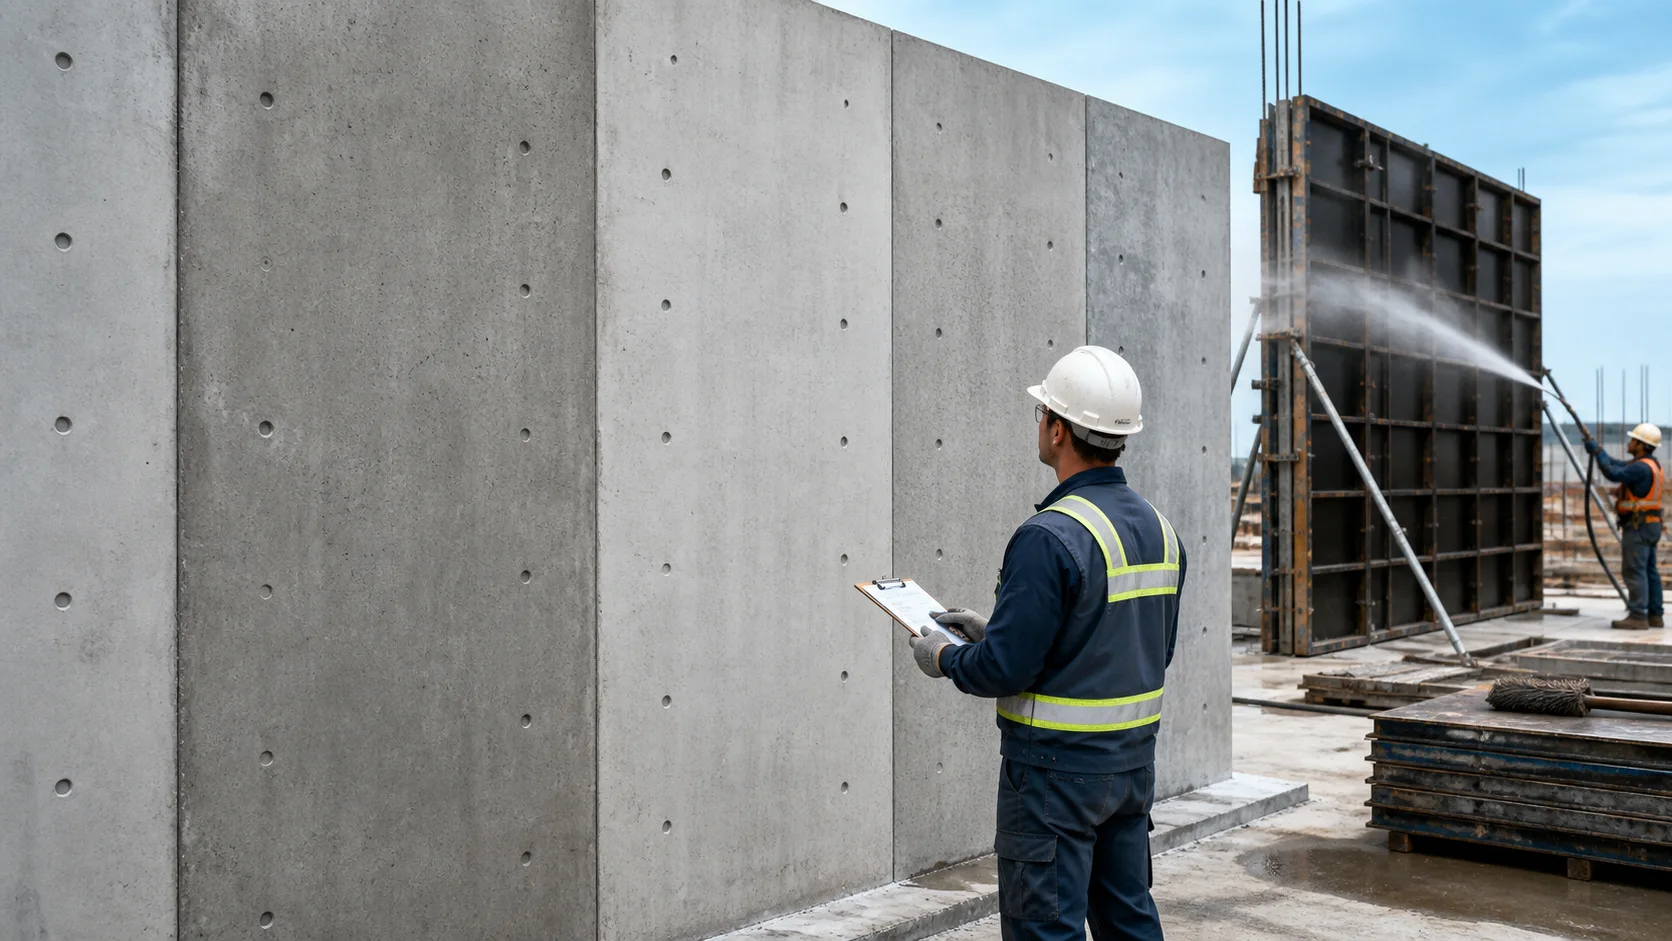
Color variation is one of the most frustrating problems in fair-faced concrete. The mix may look correct on paper, the formwork may appear clean, and the release agent may have worked well on the previous panel. Then the next pour comes out lighter, darker, patchier, or noticeably different from the approved sample.
The mistake is to treat color as a cosmetic issue that can be corrected at the end. In exposed concrete, color is a record of the whole casting process. Small changes in the mix, formwork, release film, placement rhythm, curing, or stripping time can become visible on the finished face.
This guide explains how to prevent color variation across multiple pours by controlling the process before the difference appears. For diagnosis after a defect has already appeared, read How to Diagnose Concrete Surface Defects.
What Color Variation Usually Looks Like
Color variation can appear in several patterns:
- one panel is darker or lighter than the approved reference;
- a horizontal band follows a lift or a change in placement timing;
- a patch follows a repaired or more absorbent formwork area;
- dark marks collect near joints, corners, or the bottom edge;
- adjacent pours have different overall tones even though the surface texture looks similar.
The pattern is useful evidence. A sharp boundary often points to a formwork or process boundary. A broad change across an entire pour may point to the concrete, curing, or weather. Random dark patches deserve a closer look at release-agent coverage and contamination.
1. Keep the Concrete Mix Consistent
Color control begins before the concrete reaches the form. Keep the cement source, aggregate source, mix proportions, admixture system, and target workability as consistent as the project requires.
Pay particular attention to changes that may seem small on site:
- unplanned water added to improve workability;
- a different cement or aggregate batch;
- a change in admixture dosage or mixing time;
- a long delivery delay that changes workability;
- different concrete temperature between morning and afternoon pours.
Record the mix identification, workability, temperature, delivery time, and any adjustment for every visible pour. If a color difference appears, the team can compare the affected pour with the previous one instead of relying on memory.
Do not use extra water as a quick color correction. It may change the surface tone, bleeding behavior, strength development, and curing response at the same time.
2. Make a Formwork Map
Two panels can look similar in the yard but behave differently during casting. Formwork age, absorbency, coating, repairs, sanding, old residue, and moisture all affect how the concrete surface develops.
Before production, create a simple formwork map. Record which panels are new, reused, repaired, coated, or made from a different material. Keep panels with noticeably different conditions from being mixed randomly on the same appearance-critical elevation.
Before each pour, check:
- form material and reuse count;
- surface cleanliness and dryness;
- repaired, sanded, or patched zones;
- joint condition and edge alignment;
- old cement paste or release-agent residue;
- visible differences in gloss, roughness, or absorbency.
For more detail on surface behavior, read How to Choose a Release Agent by Formwork Material.
3. Keep the Release Film Repeatable
The release agent should be treated as a controlled interface, not as a last-minute coating. Use the same product specification, storage method, application equipment, and site procedure across comparable pours.
Record the product, batch, dilution if applicable, sprayer, nozzle, number of passes, and time between application and casting. The goal is a thin, continuous film. A visibly wet or glossy surface may indicate pooling or over-application, while dry-looking strips may indicate missed coverage.
Pay special attention to corners, joints, bottom edges, repaired areas, and overlaps between spray passes. These locations often create color differences even when the middle of the panel looks uniform.
Before production casting, use a mock-up to compare the release-agent method with the actual formwork. The Concrete Release Agent Compatibility Test explains how to record the result before a full pour.
4. Keep Placement Rhythm Stable
The concrete surface also records how the pour was carried out. Keep the delivery sequence, lift height, placement interval, and vibration method as consistent as possible across adjacent panels.
Review the process when color changes align with:
- a long pause between deliveries;
- a change in placement crew or equipment;
- different lift heights;
- a change in vibration pattern;
- concrete placed after workability has changed noticeably.
This does not mean every pour must be mechanically identical. It means the team should know which variables are allowed to change and which ones must remain stable for an appearance-critical finish.
5. Standardize Curing and Stripping
Different curing and stripping conditions can create different tones even when the concrete mix and formwork are the same. Compare the time the form remained in place, the surface moisture, the protection from wind and sun, and the curing method used on each pour.
Avoid comparing a shaded morning pour with a hot afternoon pour as if they had the same environment. Record the air temperature, form temperature, humidity, rain exposure, and curing start time. The effect of weather on the release interface is discussed in How Temperature and Humidity Affect Release Agent Performance.
The correct stripping time must follow the project requirements and concrete condition. The key quality-control principle is consistency: comparable elements should not be stripped or cured under completely different conditions without recording the change.
Approve a Reference Panel Before Production
An approved reference panel gives the team something concrete to compare against. It should be made with the planned concrete, formwork material, release-agent procedure, placement rhythm, curing method, and stripping timing.
Record the reference panel’s:
- mix identification and workability;
- formwork material, condition, and layout;
- release-agent product and application method;
- weather and form temperature;
- placement and vibration method;
- stripping time and curing procedure;
- approved photographs under consistent lighting.
The reference panel is not a promise that every future surface will be identical. It is a shared baseline that helps the team identify whether a later difference is acceptable, requires adjustment, or needs technical review.
A Pour-to-Pour Color Control Record
Use a short record for every appearance-critical pour:
| Control point | What to record |
|---|---|
| Concrete | Mix ID, batch, workability, temperature, water or admixture changes |
| Formwork | Panel map, reuse count, repairs, cleaning, moisture, joint condition |
| Release film | Product batch, dilution, equipment, passes, coverage, waiting time |
| Placement | Delivery interval, lift height, crew, equipment, vibration method |
| Environment | Air and form temperature, humidity, rain, wind, shade or sun exposure |
| Curing | Start time, method, protection, stripping time, post-stripping treatment |
| Finish review | Photos, color comparison, stains, gloss, defects, decision |
The record should be short enough to complete on site. A form that nobody fills in is less useful than a simple checklist that is completed consistently.
Read the Pattern Before Choosing a Fix
| Pattern | First variables to compare |
|---|---|
| Sharp boundary at a panel or joint | Formwork material, panel condition, joint residue, spray overlap |
| Horizontal band | Lift timing, delivery gap, workability change, vibration sequence |
| Dark corners or bottom edge | Release-agent pooling, drainage, joint condition, form orientation |
| Random oily patches | Film thickness, contamination, old residue, product compatibility |
| Whole pour is lighter or darker | Mix batch, water addition, curing, temperature, stripping time |
This table is a starting point, not a final diagnosis. Compare the affected pour with a nearby acceptable pour and change one variable at a time where possible.
Common Prevention Mistakes
Changing several variables at once
Changing the concrete mix, release agent, formwork, and curing method together may produce a different color, but it will not show which change helped. Keep a stable baseline and adjust one significant variable at a time.
Using more release agent to make the surface darker or smoother
More product can create pooling, oily shadows, residue, and additional surface defects. Color control starts with a suitable, even film, not with an increasingly heavy coating.
Mixing formwork conditions without a panel plan
New, reused, repaired, and differently coated panels can all have different surface behavior. Map the panels and place similar conditions together when the finish needs to be consistent.
Judging color under changing light
Strong side light, wet surfaces, dust, and different camera exposure can make normal variation look worse. Compare photographs under consistent conditions and inspect the surface after it has reached a comparable moisture state.
Conclusion
Preventing color variation in fair-faced concrete is a process-control task. Keep the concrete mix, formwork, release film, placement rhythm, curing, and stripping conditions consistent enough that the surface has a stable set of inputs.
When a difference appears, study its pattern and compare records before choosing a repair or changing the product. A reference panel, a formwork map, and a short pour-to-pour checklist can prevent small process changes from becoming visible defects across an entire elevation.
For the product and application context, review the concrete release-agent options on the main site.